
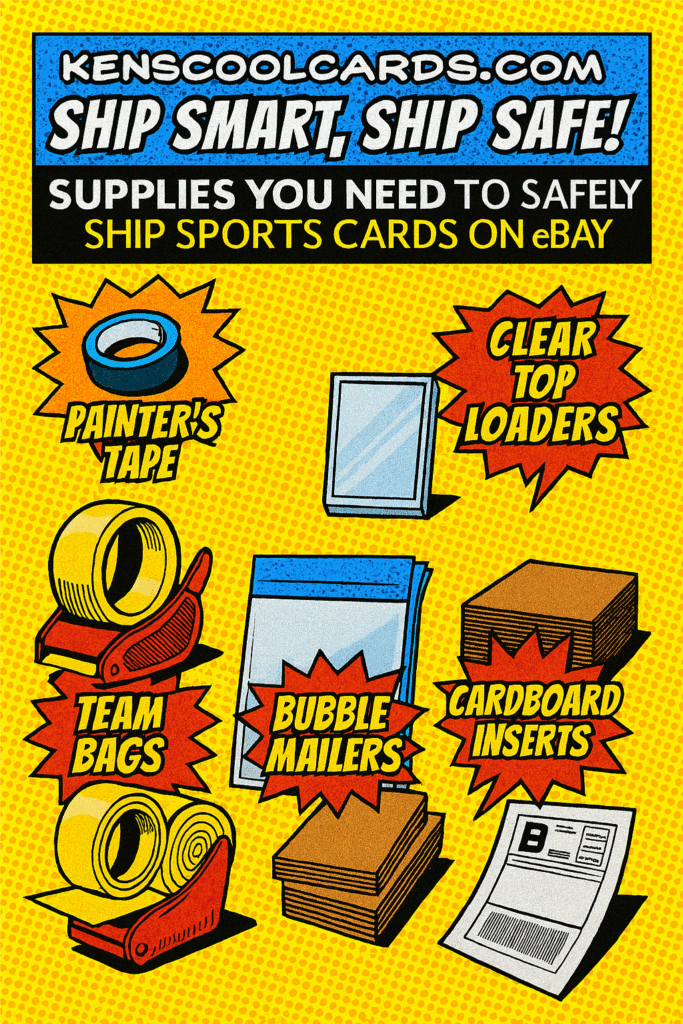
If you’ve ever gotten the dreaded “card arrived bent” message, you know the stakes. Whether it’s a $2 base or a $2,000 rookie, shipping sports cards isn’t just logistics—it’s reputation management. This guide breaks down the essentials, from packaging to postage, with pro tips that’ll boost your feedback score and buyer trust.
Most links in this article are affiliate links to Amazon. If you purchase anything through my link, I may earn a commission, although it costs you NOTHING more. Shop away…and thanks!
1. Toploaders Are Non-Negotiable
Even for commons, a toploader is your first line of defense. Slide the card into a penny sleeve first (like socks before shoes), then into the toploader. Seal the top with painter’s tape or low-tack card-safe tape—never Scotch tape. Scotch tape is the enemy of clean removal and mint condition.
Ken’s Pro Tip: Add a pull tab to your tape for easy removal. Buyers notice the little things—and they remember who made it easy. Personally, I like using these low-tack tabs to seal the top loader.
2. Team Bags Keep It Tidy
Shipping multiple cards? Bundle them in a team bag. It prevents shifting, keeps everything clean, and looks professional. For high-value cards, toss in a corner protector or ding defender. It’s a subtle flex that says, “I’m a collector too.”
Ken’s Pro Tip: Branded team bags are a game-changer. They turn packaging into marketing—every buyer becomes a potential repeat.
3. Cardboard Sandwich = Card Fortress
For raw cards or bulk orders, sandwich them between two pieces of cardboard and tape the edges. Slide that into a bubble mailer or rigid envelope. It’s DIY armor—and buyers love it.
Disclaimer – I don’t like using a lot of cardboard so I use ding defenders. It’s not necessary, but I think it presents as cleaner and more professional shipping.
Ken’s Pro Tip: Buy bubble mailers and rigid envelopes in bulk on Amazon. It’s cheaper, faster, and scales with your store.
4. PWE vs. Bubble Mailer: Know the Line
I use these rigid envelopes even for cards under $20. They ship well and are usually thin enough to go through USPS scanning and machining. Plus, a 4×6 mailing label fits awesomely on these
Anything above that deserves a bubble mailer and a ding defender. It’s not just about protection—it’s about peace of mind.
Ken’s Pro Tip: If losing the card would sting, don’t risk it in a PWE. And if you’re doing volume, invest in a thermal label printer—it’ll save you hours.
5. Include a Thank You Note (Even If It’s Just 5 Words)
A quick “Thanks for your purchase!” scribbled on a sticky note humanizes the transaction. It builds loyalty and repeat buyers. You’re not just selling cardboard—you’re building a brand.
Ken’s Pro Tip: Print custom thank-you notes with your thermal printer. Tuck them inside team bags for a clean, branded touch.
6. Weigh It Before You Pay It
(and Use eBay Standard Envelope When You Can)
Guessing postage is a rookie mistake. Use a postal scale to avoid underpaying and angry buyers stuck with postage due. USPS loves precision—and so do your margins.
For raw cards under $20, eBay Standard Envelope is a game-changer:
- ✅ Tracking included
- ✅ Up to 3 oz
- ✅ Rates from $1.32 ( I always add another $1.00 for soft sleeve, top loader, and envelope. Don’t be afraid to recoup cost!)
- ✅ Seller protection if tracking shows delivery
Ken’s Pro Tip: Use a rigid envelope + team bag + toploader combo to meet eBay’s packaging guidelines. And don’t forget to weigh it—3 oz is generous, but extras add up fast.
7. Track It When It Matters
For anything over $20, add tracking. It’s worth the extra $1–2. Buyers feel safer, and you’ve got proof if things go sideways. eBay’s seller protection only kicks in if you can prove delivery.
Ken’s Pro Tip: Make sure your thermal printer supports USPS tracking barcodes. Most popular models do—and they print fast.
🧤 Bonus Tip: Ship Like You’d Want to Receive
Before sealing the package, ask yourself:
Would I be excited to open this?
If the answer’s yes, you’re doing it right.
Ken’s Pro Tip: Every package is a handshake. Make it count.